DIY Solar
Tool Estimator
DIY solar can save £1,500–£3,500 on labour — but only if you have the right tools. This estimator covers every piece of safety and test equipment required for a legal, insurable installation under UK regulations. Select what you need and get an instant budget.
Build Your Tool Budget
Tick the tools you need. Items marked Required are either legally mandated or essential for personal safety — do not omit them.
The 5 Steps to a Legal DIY Solar Installation
Confirm your roof can carry the additional dead load (15–20 kg/m²). Identify rafter positions (typically 400–600mm centres). Assess orientation and shading. Check planning constraints — conservation areas, listed buildings. This is the step most DIYers skip and later regret.
Design your string configuration to match the inverter's MPPT input voltage range. For systems over 3.68 kW single-phase, submit a G99 application to your DNO before purchasing equipment — approval takes 4–12 weeks and sometimes requires grid reinforcement that changes your design.
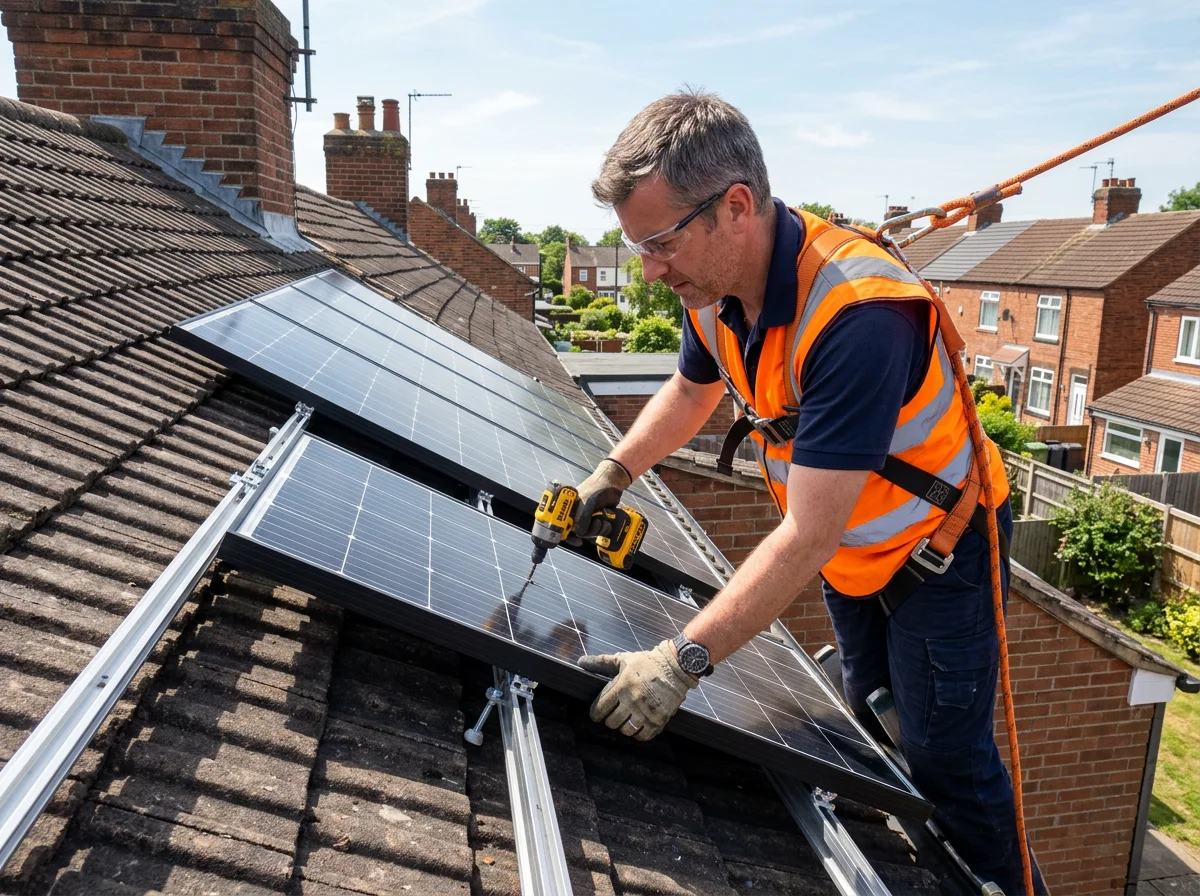
Install roof hooks into rafters (not battens). Mount rails. Install panels with calibrated torque wrench — manufacturers specify exact values, typically 8–14 Nm. Incorrect torque either allows panels to move in wind or cracks aluminium frames. Route and secure DC cables with UV-resistant clips.
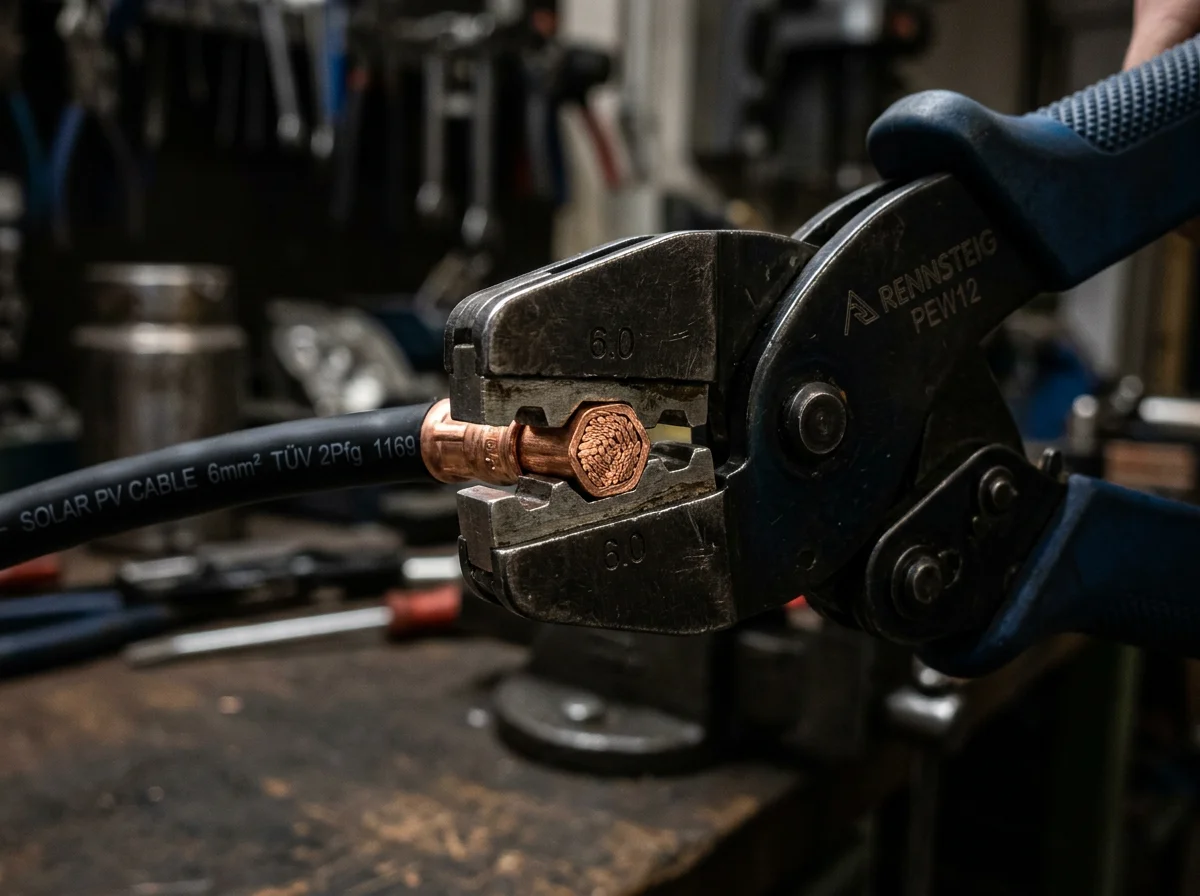
Before connecting any string to the inverter: measure Voc and Isc of each string; perform insulation resistance tests (500V DC, record results); verify polarity. A single reversed panel string will damage a string inverter instantly. Use insulated gloves throughout — DC circuits are always live in daylight.
A registered electrician connects the AC side to your consumer unit and issues a BS 7671 EIC. Submit G98 notification to your DNO within 28 days. Register for the Smart Export Guarantee with your energy supplier. Photograph all test results and certificates for your home file.
Not Sure DIY Is Right for You?
DIY solar makes sense for confident electrical DIYers with relevant skills and time. For most homeowners, using an MCS-certified installer delivers better long-term value — through workmanship warranties, SEG eligibility, and the peace of mind of insurance-backed certification. Use our quote tool to compare.
Explore More Solar Tools
Getting a professional quote instead? Check it for 16 red flags — warranty gaps, unbranded panels, and inflated cost-per-kWp.
Test your solar IQ — 10 questions covering MCS certification, SEG, DNO notifications, and inverter specs that every solar installer should know.
A DIY install costs less upfront — use the payback calculator to model exactly how much faster you break even versus a professional install.